In 4 simple steps we will guide you how you can geo-tag your videos on YouTube .
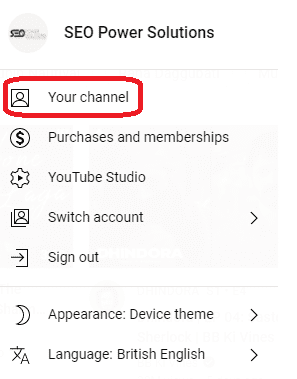
1. Login to your YouTube account. Click on “Your Channel” and then click on “Manage Videos” button.

Click on Your Channel

Click on Manage Videos

2. Click on the video that you want to geo-tag. Scroll down until you see “Show More” option, click on it, you will see more advance option below.
Click on the video

Show More

3. Under the heading “Recording date and location” you will get two options
- Recording date – Add your date here.
- Video location – Search and add your business name/address in this field.

4. Click on “Save” button on top right corner.


